but not the emotional type. The chemical type, as used to unblock the exhaust and restore the corroded petrol tank and on my Cyclemaster.
NOTE: THIS BLOG INVOLVES USING SOME VERY AGGRESSIVE CHEMICALS, SO PERSONAL PROTECTION EQUIPMENT SHOULD BE USED, FOR EXAMPLE, RUBBER GLOVES, GOGGLES, FACE MASK ETC.
READ THE INSTRUCTIONS ON THE CHEMICALS AND FOLLOW THEM. ALSO DOWNLOAD THE MATERIAL SAFETY DATA SHEET (MSDS) FOR EACH CHEMICAL AND COMPLY WITH IT – YOU HAVE BEEN WARNED!
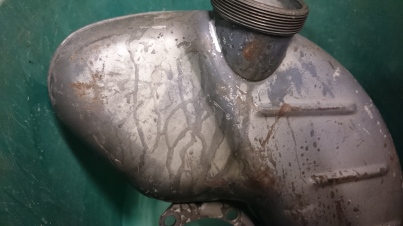
First the blocked exhaust.
Apart from cutting the exhaust open, scrapping the carbon out and then welding it back up, there are two, frequently used, methods. The one I’m not prepared to try, involves pointing an oxy-acetylene welding torch down the exhaust until the carbon is burning, then turning the acetylene off, so the oxygen feeds the burning carbon – a bit like a blast furnace. They say don’t worry about it glowing red and smoke bellowing out? And that it will self extinguish when the carbon has been burnt. But that sounds a risk to far, so it’s the second method for me.
Simply get some caustic soda (sodium hydroxide) from your local hardware store (Wilko in my case) and fill the exhaust with it.
NOTE: Caustic Soda is an aggressive chemical, so rubber gloves (marigolds) and eye protection must be used – as a minimum.
I mixed the caustic soda quite strong, with reasonably warm water (not boiling) and left my exhaust in an old plastic bucket overnight, with bungs in each end. The carbon softens and comes out a black gunge when you rinse it with the hosepipe. I did mine 3 times and the last time there was no gunge, just brown water.
Take extreme care, as the caustic soda reacts with aluminium and can stain chrome – not an issue on the CM. This method was quite simple and worked for me as the exhaust has a nice crisp “pop” now; a sure sign it’s free flowing.
Second, the rusty petrol tank.
My Cyclemaster tank had been stood for so many years, the petrol had crystallised at the top and turned to black rusty gunge at the bottom. I tried various cleaners that all helped a little but bits of rust were still getting into the carb. I hope to do some long distance rides and don’t want to risk a breakdown due to blocked main jet, so the tank must be cleaned and treated.
This is what it looks like inside and it’s worse further back in the lower section.
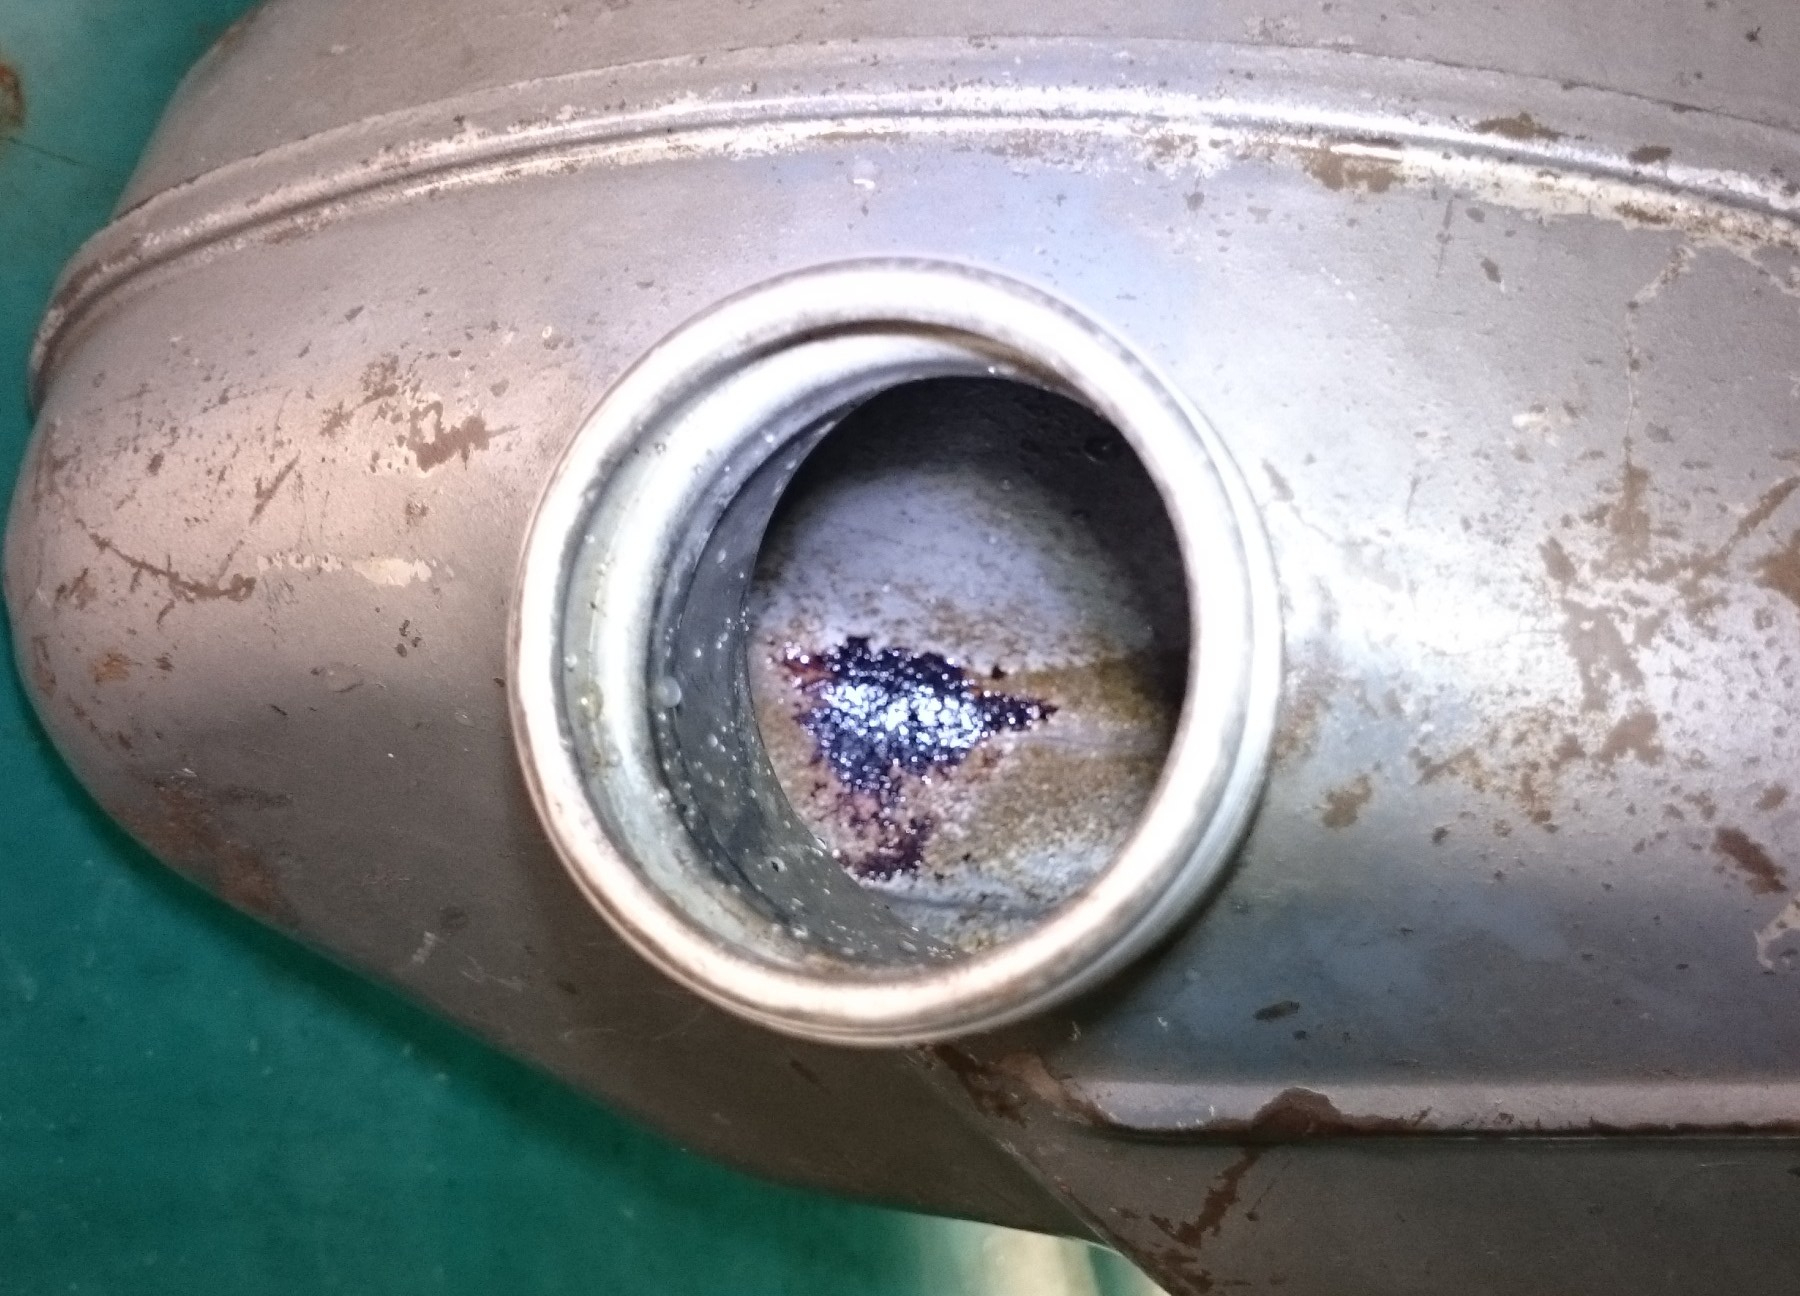
The method I’m using is to “treat” the inside of the tank with Phosphoric acid. It acts as a rust converter, not remover. The rust is iron oxide and the phosphoric acid converts it to ferric phosphate which is soluble in water so can be washed off – in theory, so let’s see if it works. The acid also etches the steel, leaving a grey surface appearance and increasing the rust resistance.
Remember, use personal protective equipment, as you are working with a strong acid.
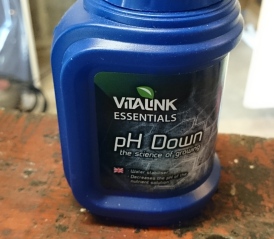
My supply of Phosphoric acid came in the form of a ph adjuster used in horticulture, from ebay. It’s 81% concentrated and I bought a 250ml bottle, so that’s 200 ml of acid. The CM petrol tank is small at 2 1/2 pints which is approx 1.5 litres and I used all of the pH Down, so my mix ratio is 7.5:1.
The fuel tap and integral filter were removed and the hole bunged with Gaffa tape as I’d read on the internet that this would work. It’s important to add the acid to water, rather than the other way round, then top the tank up to the brim.
I then placed the Tank in an old plastic bucket and gave it shake every few minutes. It was during shaking that I noticed the garage floor fizzing, like an Alka Seltzer in water, as the Gaffa tape was coming off! SO DON’T USE GAFFA TAPE. Do the safe thing and find a bolt that fits the hole and screw it in securely. Fortunately, I had the hose pipe ready so I gave the floor a good wash down, including washing it Baking Soda to neutralize the acid.
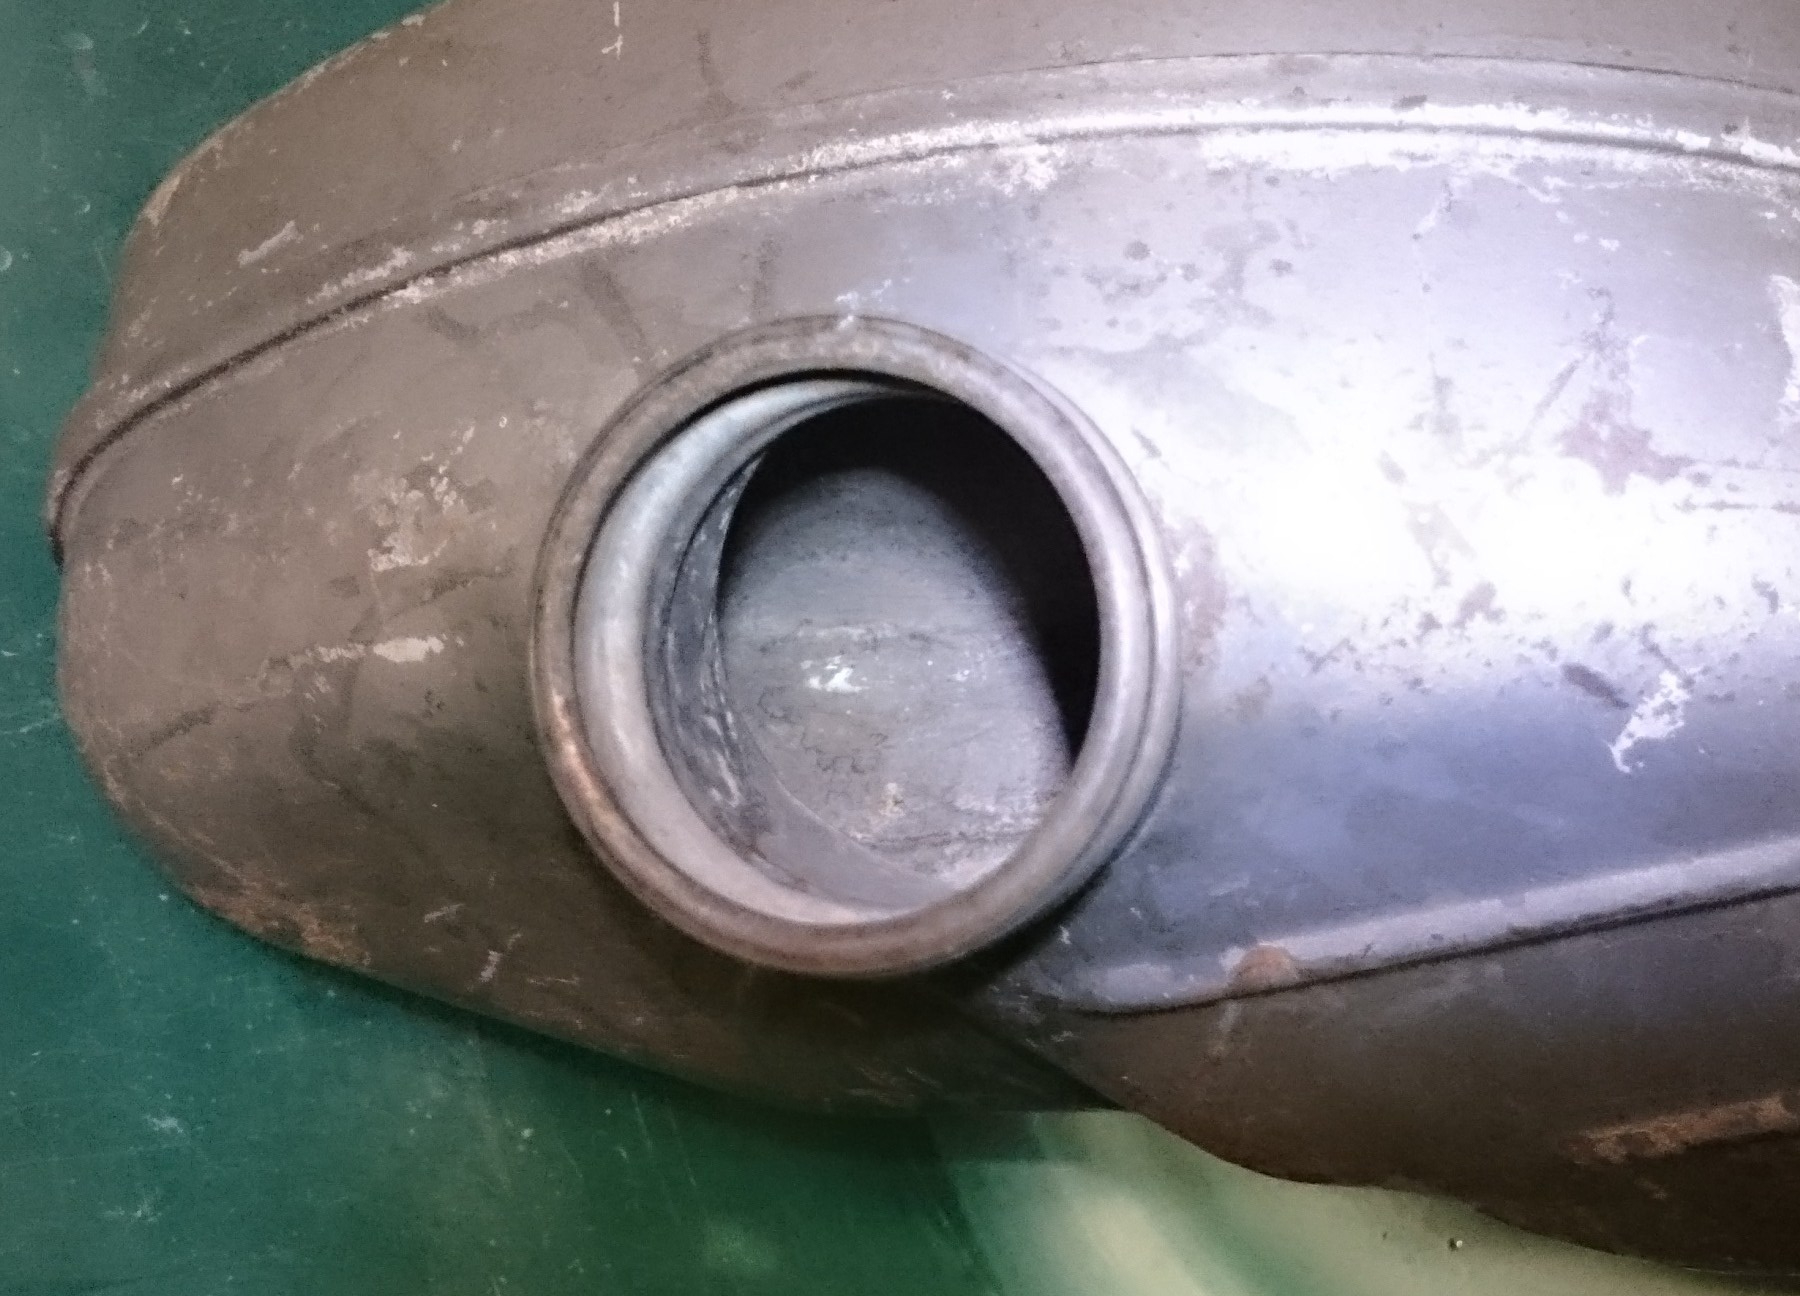
After 20 to 30 minutes I removed the acid, gave it a rinse with the hose pipe for another 15 mins, then rinsed it with a baking soda solution. And this is the result:
The next step is to thoroughly dry the tank and I used a heat gun to do this. When your are 100% sure it’s dry, give it a spray inside with WD40 or simlar.
Side by side, you can see the improvement is massive – job done, or not quite…


I say not quite, as unfortunately the acid has affected the outside of the tank.
It just goes to prove, you shouldn’t believe everything you read on the internet, as I’d read that Phosphoric acid has no affect on paint – wrong! Perhaps I made the acid too strong? Or perhaps the original Polychromatic paint isn’t resistant to acid?
Anyway, I was unsure whether to paint the tank but that’s now been resolved for me.
So the next blog will be my experience on painting the tank and the other parts. Oh and adding those difficult red lines…
